-
-
-
-
-
-
-
-
-
-
My Showroom & Support



















Grout, Trim, Layout, and Overage: The Tile Decisions Nobody Puts on a Mood Board
The field tile is the easy decision. Grout color, joint width, edge treatment, layout, and how much overage to order are what actually determine whether the finished wall looks considered or improvised.
Here is something I have watched happen more times than I can count. A homeowner falls in love with a tile, orders it, and feels like the hard part is over. Then the installer shows up and starts asking questions. What color grout? How wide do you want the joints? What are we doing at the edges? Where should the pattern start? Suddenly the one easy decision turns into five decisions nobody warned you about.
The field tile really is the easy part. You can hold a sample against your cabinets and know in a minute whether you like it. The details that decide whether the finished wall looks planned or improvised are the ones that never make it onto a mood board. This guide walks through each of them so you can make these calls before you order, not while your installer is standing there waiting.
Grout Color Changes the Look More Than You Expect
Grout is not just filler between the tiles. It takes up real space on the wall, and it decides whether your eye sees a grid of individual tiles or one continuous surface.
You have three basic directions, and each one does something different:
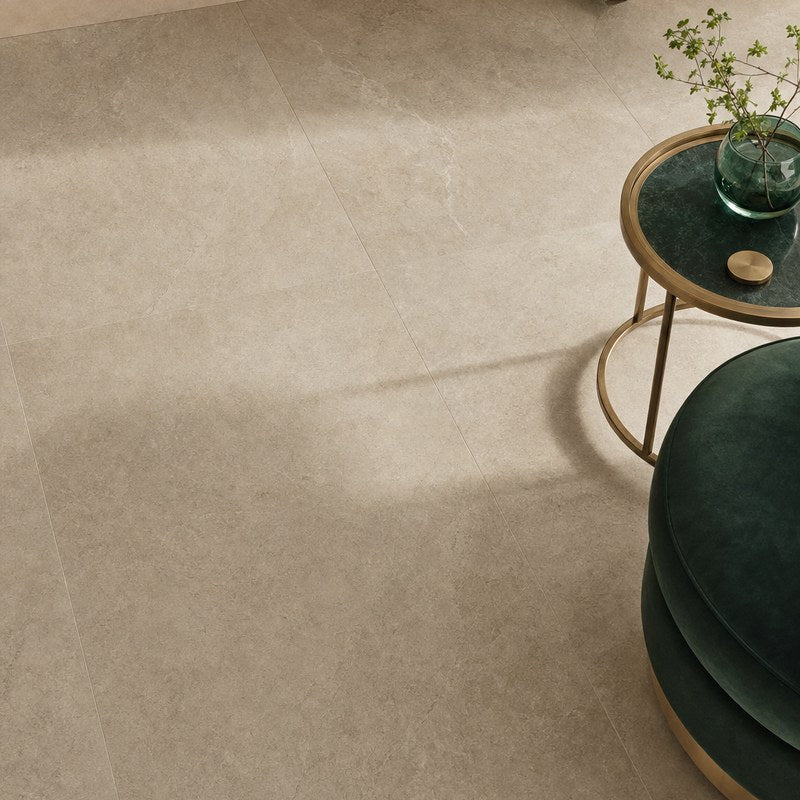
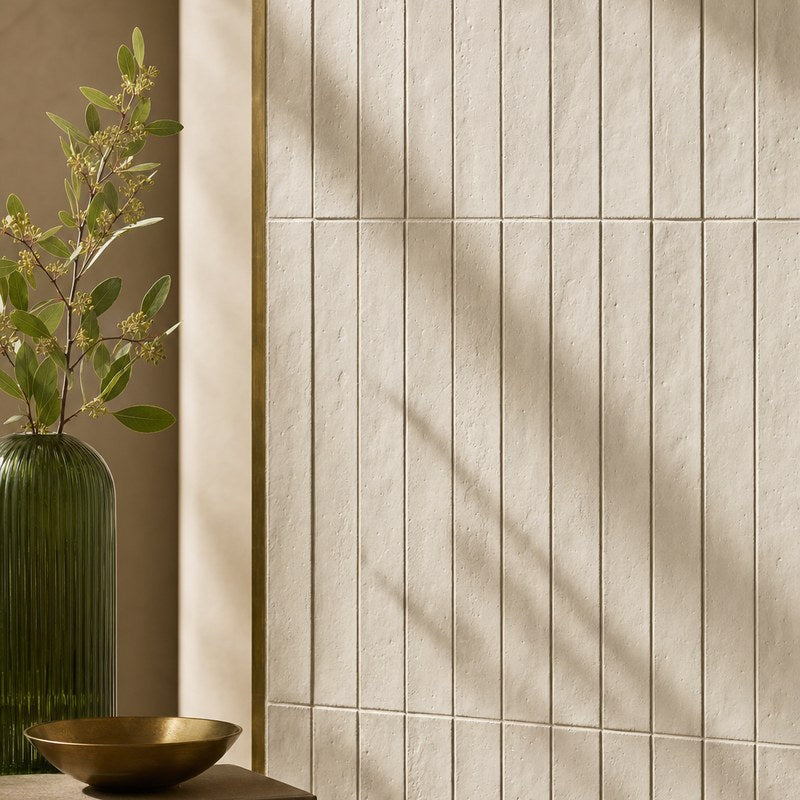
Match the tile. Grout close to the tile color makes the joints fade away, so the wall reads as one material. This is what you want with large-format tile, where the whole idea is a big, calm expanse, and with any tile where you want the veining or texture to flow without interruption.
Contrast the tile. Dark grout with white tile turns the layout itself into the pattern. A classic subway wall with charcoal joints is a bold, graphic look. It works beautifully, but go into it knowing that contrast grout highlights every single line, so the install needs to be tight.
Split the difference. A grout that is a shade or two off the tile softens the joints without erasing them. This is the safest choice in a busy room, and it is the most forgiving if the install is not absolutely perfect.
One practical warning from experience: light grout on a floor, in a shower, or behind a range will not stay light. Choose a mid-tone in those spots and you will thank yourself in year three.
Joint Width Is Decided by the Tile, Not by You
This one surprises people. You do not get to pick your grout joint width freely. The tile mostly decides it for you.

Rectified tile is cut to a precise size after firing, so the pieces are very consistent and can take a narrow joint, often 1/16 to 1/8 inch. Non-rectified tile varies a bit from piece to piece, and a narrow joint has nowhere to absorb that variation, so you need 3/16 inch or more.
Two more things to know before you fall in love with a hairline joint. Large-format tile needs a wider joint than most people expect, because bigger pieces are allowed a little more warp and the grout has to take up the difference. And tile with a lot of shade variation is easier to live with on a slightly wider joint, because the joint gives your eye a place to rest between pieces.
Every manufacturer publishes a minimum joint width for each tile. It is on the spec sheet, and it is not a suggestion. Going under it is how you end up with lippage, which is the polite name for tile edges that stick up and catch your toes.
Edges and Transitions Are Where Amateur Installs Show
Every tiled surface has to end somewhere, and what happens at that edge is the most visible difference between a professional result and a do-it-yourself one.
Here are your options, roughly from least to most expensive:

Metal or PVC trim. A clean finished edge in a color you choose. It looks modern, and it is the most forgiving of an imperfect cut. Pick a profile depth that matches your tile thickness plus the mortar bed. Too shallow and the tile edge shows above it. Too deep and the trim stands proud of the tile.
Bullnose. A tile with one rounded, factory-finished edge. It looks softer and more traditional than metal. Not every tile series offers a bullnose, which is exactly why you check before you order rather than after the boxes arrive.
Mitered edge. Two tiles cut at 45 degrees and joined at the corner so the tile looks like it wraps around. It is the most seamless option and the most demanding. This is skilled work, and it does not forgive a tile with a soft body.

You can browse the edge profiles and transitions we carry in Trim, Stair Parts and Transitions. Decide your edge method before you order, because a bullnose that turns out not to exist for your tile will hold up the entire job.
Layout: Decide Where the Cuts Go Before Anyone Mixes Mortar
Tile layout is the art of putting the full pieces where people look and the cut pieces where they do not.
A few rules hold up in almost every room. Center the layout on the feature, not the room. A shower wall should be centered on the niche or the fixture, not on the middle of the wall, if those two things are in different places. Avoid a sliver at the edge. If the math leaves you with a two-inch cut at one end, shift the whole layout half a tile and take a five-inch cut at both ends instead. That reads as intentional.
Think about where your eye lands first when you walk in, and put your best full pieces there. And settle on the pattern before you order, because a herringbone or a running bond uses a different quantity than a straight stack of the same tile.
For a wall-tile example, see Daltile Relicca ceramic wall tile. Compare the layout and edge cuts against your actual wall dimensions before you calculate the order.
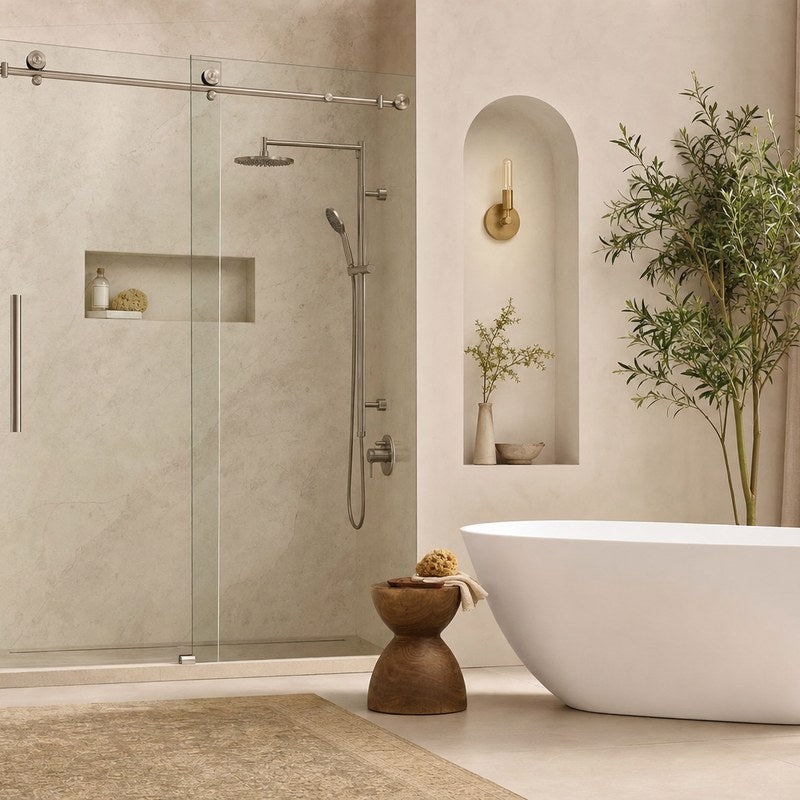
If you are running one material from the shower wall onto the floor, plan both surfaces as a single layout. Lining up those grout lines is a small decision that makes a room look designed. If you want to see why big tile is winning in primary baths right now, read Large Format Tile Is Taking Over Master Bathrooms.
Order Extra, and Order It All at Once
This is the mistake that costs the most and is the easiest to avoid.
As a general guide:
- Order about 10 percent extra for a straight layout. That covers cuts, waste, and the two or three pieces that arrive chipped or get broken on site.
- Order 15 percent or more for a diagonal, herringbone, or chevron layout. Angled cuts create a lot more waste, and the offcuts usually cannot be reused.
Then the part people skip: buy the whole quantity, including the extra, in one order. Tile is made in batches, and the color varies a little between production runs. A box ordered three weeks later can come from a different lot and read as a slightly different color. You will see it on the finished wall, and there is no fixing it short of retiling.
Keep the leftover boxes, too. Five years from now, when a plumber has to open a wall, having four matching tiles in the basement is the difference between a repair and a renovation.
What to Have Decided Before You Order
Grout color and joint width. An edge treatment for every place the tile stops. The layout, including where the cuts fall. Your total square footage plus the right overage for your pattern. And whether your tile series actually offers the trim you are counting on.
Are you ever going to survive making all these choices? Yes, because you are here, and because none of them are hard once you know they exist. They are also much easier to settle with samples in your actual room, in daylight and at night. We ship samples nationwide, and if you would rather work through the plan with a person, ask a pro. A real person who has specified these products answers, usually within a business day. You can also start with free design help and we will build the tile plan into the whole room.
Browse field tile, backsplash and mosaic tile, and the trim and transitions that finish them, or start from the top with our tile and stone guide.
More from the Learning Center